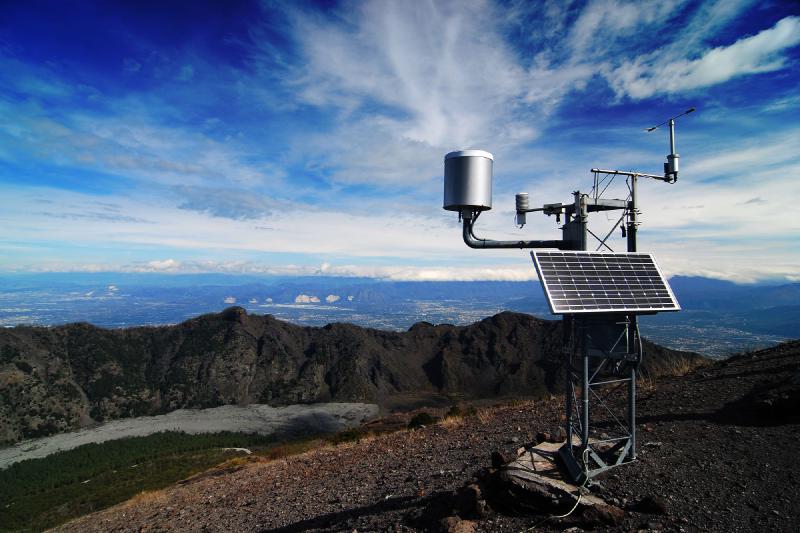
Continuing on my last post regarding the end of DarkSky, I promised I’d follow up on the other part of how I am getting weather data into HomeAssistant. I’ve always been interested in having my own personal weather station to get hyper-accurate local weather conditions, namely temperature and wind speed. I was always off put by the need for one of those monitor stations because it restricted where and how I could see the data.
Pretty, but not great for HomeAssistant uses!
Instead I wanted the ability to get the data into HomeAssistant. Thankfully there are a lot of great options out there. Two options I considered were Ecowitt GW1000 as well as an Ambient Weather station. Both seem like good options. What put me off was the wifi connection which in some cases required a cloud connection, which I try to avoid when there’s a good non-cloud alternative.
Thankfully I found an inexpensive, non-cloud version with the Acurite 5-in-1 Weather Station. The beauty of this device is that it communicates via 433mhz, which is a fairly common standard. You could use a weather station like I have pictured above, or you could grab a Software Defined Radio (SDR) (more on this below) and thanks to some open source software, intercept and decode the signals and get the information easily into HomeAssistant.
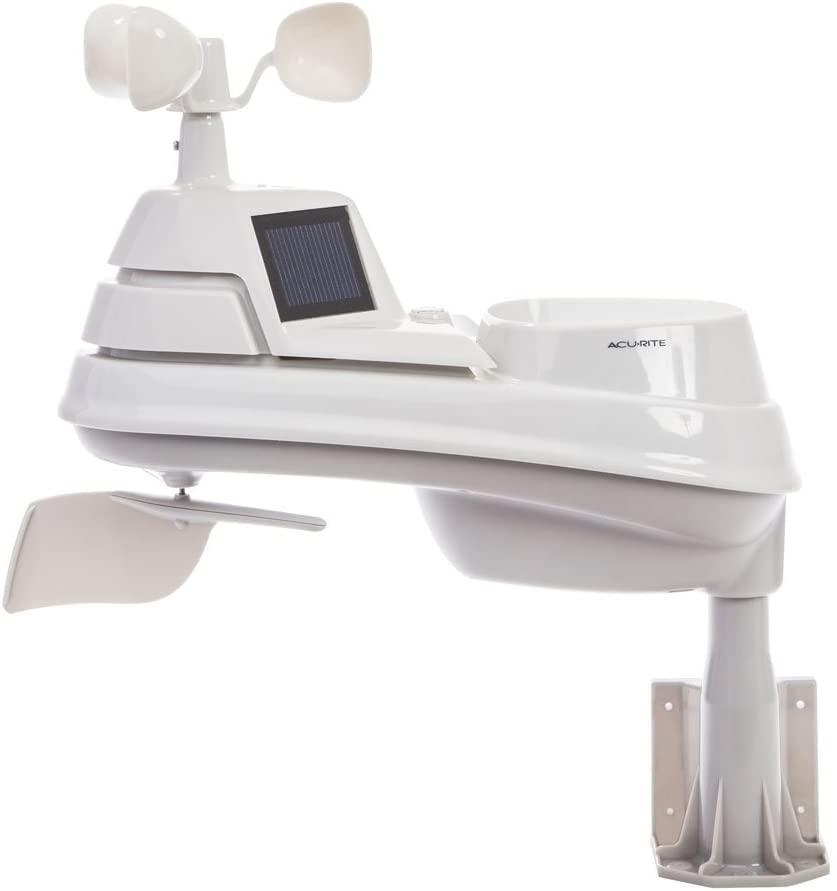
Won’t win any awards for design
RTL_433
As mentioned above, you’ll need a SDR in order to pick up on the signals. These are pretty easy to find on Amazon. I used this one, but really any should do the trick. I tested things out on a Raspberry Pi for development purposes, but really any Linux box will work. Connect the small set of antenna to the Y splitter and connect the USB cable to the computer to get started. Then you’ll need the software to decode the signals.
Thankfully, someone has already done all the work in decoding the signals for the Acurite. RTL_433 is an absolute gem of open source software that is incredibly powerful. It may seem super complicated to a novice, but you don’t need much to get everything set up. Here’s the commands you need to enter into terminal to get RTL_433 compiled and set up:
# packages needed to compile rtl_433
apt-get update
apt-get install -y rtl-sdr librtlsdr-dev librtlsdr0 git automake libtool cmake

# Pull RTL_433 source code from GIT, compile it and install it
git clone https://github.com/merbanan/rtl_433.git
cd rtl_433/
mkdir build
cd build
cmake ../
make
make install
To test things out, you can just run the rtl_433 command and see what happens. More than likely you’ll just see a bunch of noise and intercept pretty much every signal on the 433mhz spectrum, which is….a lot. But use this to make sure you can see signals from your Acurite weather station. You can further narrow down the types of signals picked up by using the presets incorporated into the RTL_433 library. Specifically, this is the command I use to only pick up on signals from Acurite 5-in-1 weather stations: rtl_433 -C si -M newmodel -R 40.
Once you’re sure you can see the signals, it’s time to work on getting the information into HomeAssistant. The easiest way to do it is via MQTT. I’m going to assume you have an MQTT broker/server already set up with HomeAssistant (if you don’t, just Google it and there’s plenty of guides out there). I tried the example MQTT to HASS script in the RTL_433 repo, but just couldn’t get it to work. Instead, I used this script which was recommended by a friend. All you need to do is save the config.py.example and rtl2mqtt.py files to a folder, modify the config.py file to include the MQTT topic and other information, and potentially modify line 14 of the rtl2mqtt.py file. Mine is this: rtl_433_cmd = "/usr/local/bin/rtl_433 -C si -M newmodel -R 40 -R 41 -F json" (the -R 41 will make sense when you review the “Bonus Topic” below).
Again, the exact method doesn’t really matter, so long as you can find a way to get the data from RTL_433 to HomeAssistant.
HomeAssistant Setup
So now that we (hopefully) have the information running from RTL_433 to MQTT, the final step is to incorporate the sensors into HomeAssistant. You’ll need to create a number of MQTT sensors. The exact format will depend on your MQTT topic that RTL_433 is sending the data to.
Here’s the way I have the 5 sensors imported into HomeAssistant (goes in your configuration.yaml file). Note that I convert things to Imperial from Metric, hence the conversion calculations:
sensor:
  - platform: mqtt
    state_topic: "rtl_433/Acurite-5n1/1606/temperature_C"
    name: "Acurite Outside Temp"
    unit_of_measurement: "°F"
    device_class: temperature
    unique_id: Acu_Outside_Temp
    value_template: >
      {{ (value | float * 1.8 + 32) | round(2) }}
  - platform: mqtt
    state_topic: "rtl_433/Acurite-5n1/1606/humidity"
    name: "Acurite Outside Humidity"
    unit_of_measurement: "%"
    device_class: humidity
    unique_id: Acu_Outside_Humidity
    value_template: >
      {{ value }}
  - platform: mqtt
    state_topic: "rtl_433/Acurite-5n1/1606/wind_avg_km_h"
    name: "Acurite Outside Windspeed"
    unit_of_measurement: "mph"
    icon: mdi:weather-windy
    unique_id: Acu_Outside_Windspeed
    value_template: >
      {{ (value | float * 0.621371)| round(2) }}
  - platform: mqtt
    state_topic: "rtl_433/Acurite-5n1/1606/wind_dir_deg"
    name: "Acurite Outside Wind Direction"
    unit_of_measurement: "°"
    icon: mdi:compass
    unique_id: Acu_Outside_Winddirection
    value_template: >
        {{ value | round(0) }}
  - platform: mqtt
    state_topic: "rtl_433/Acurite-5n1/1606/rain_mm"
    name: "Acurite Outside Rain Total"
    unit_of_measurement: "in"
    icon: mdi:weather-rainy
    unique_id: Acu_Outside_Rain_Total
    value_template: >
      {{ (value | float * 0.03937) | round(2)  }}
This should be fine for everything but the rain sensor, which collects the rain on a cumulative basis. So if you want tracking that actually makes sense (i.e. a daily or monthly tracking), I would suggest using the Utility Meter integration. It’s really easy to set up, just add the following your configuration.yaml:
utility_meter:
  acurite_outside_rain_today:
    name: Rain Today
    source: sensor.acurite_outside_rain_total
    cycle: daily
  acurite_outside_rain_month:
    name: Rain This Month
    source: sensor.acurite_outside_rain_total
    cycle: monthly
You’ll now have a daily and monthly rain sensor that will automatically reset daily or monthly (on the 1st of the month). Incorporating these into HomeAssistant then is totally up to you!
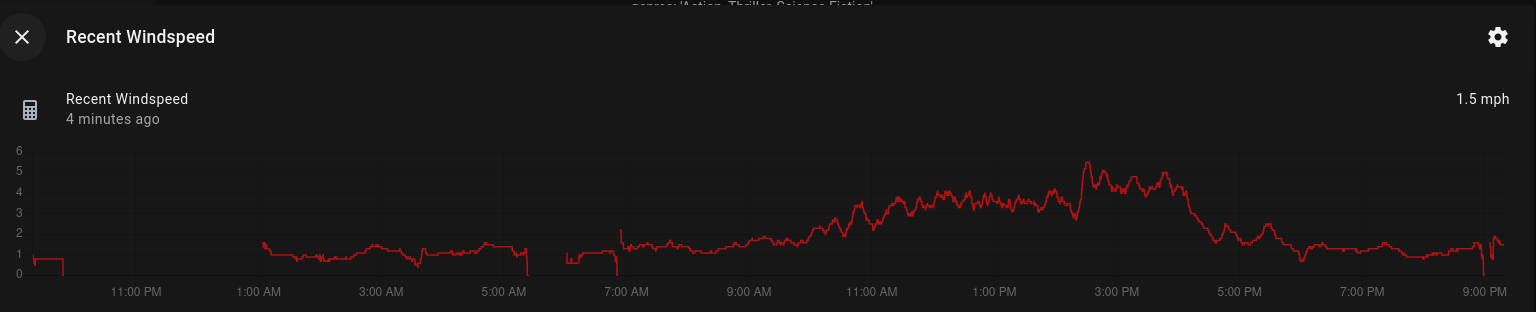
My only other suggestion might be to create a statistics sensor to try to somewhat level out the wind speed readings. Otherwise it’s liable to look like this:

With the statistics sensor, you get a graph more like this:
Here’s my sensor entry (again goes under sensor: in configuration.yaml):
  - platform: statistics
    entity_id: sensor.acurite_outside_windspeed
    name: Recent Windspeed
    sampling_size: 30
    max_age:
      minutes: 30
    precision: 1
Bringing it all together
So if you followed my last blog post, you know I concluded I need to use a hodgepodge of weather services in order to match the information that was available via DarkSky. If you want a weather entity that combines all of this information together, take a look at https://github.com/xannor/hass_weather_template. It’s a great little custom component that lets me merge all my weather entities together so I get the best of all the worlds:
weather:
  - platform: weather_template
    weather:
      combined_weather:
        temperature_template: "{{ states('sensor.acurite_outside_temp') }}"
        temperature_unit_template: "{{ state_attr('sensor.acurite_outside_temp', 'unit_of_measurement') }}"
        condition_template: >
          {% if states('weather.nws') != 'unavailable' %}
            {{ states('weather.nws') }}
          {% elif states('weather.nws') == 'unavailable' %}
            {{ states('weather.accuweather') }}
          {% endif %}
        humidity_template: "{{ states('sensor.acurite_outside_humidity') }}"
        wind_template: "{{ states('sensor.acurite_outside_windspeed') }}"
        wind_bearing_template: "{{ states('sensor.acurite_outside_wind_direction') }}"
        attribution_template: "Weather provided by Acurite 5-1 Outdoor Sensor, the National Weather Service, and Accuweather"
        visibility_template: >
          {% if states('weather.nws') != 'unavailable' %}
            {{ state_attr('weather.nws', 'visibility') }}
          {% else %}
            Unavailable
          {% endif %}
        forecast_template: "{{ state_attr('weather.accuweather', 'forecast')[0] | to_json }}"
Bonus Topic
Well since I’m already discussing RTL_433 Acurite stuff, I might as well toss in a recommendation for these Refrigerator/Freezer temperature sensors, also made by Acurite and that also work on 433mhz. I have 2 sets as I have a fridge/freezer in my garage and have had a few instances where the door in the garage fridge has been left accidentally open and we’ve had to toss everything inside.