Ohhhh ESP8266. How I have grown to love thee. For a long time I was resistant to using them because I didn’t know how to solder and it just seemed to complicated to me. But I stumbled across a project (linked below) to create bed detection for super cheap and I was intrigued enough to give it shot. Being stuck at home thanks to COVID-19 also helped me want to find some projects to keep me busy. I also started to mess around with Tuya-Convert and flashing some ESP8266-based smart plugs with Tasmota which made me realize how simple and easy working with ESP8266’s is.
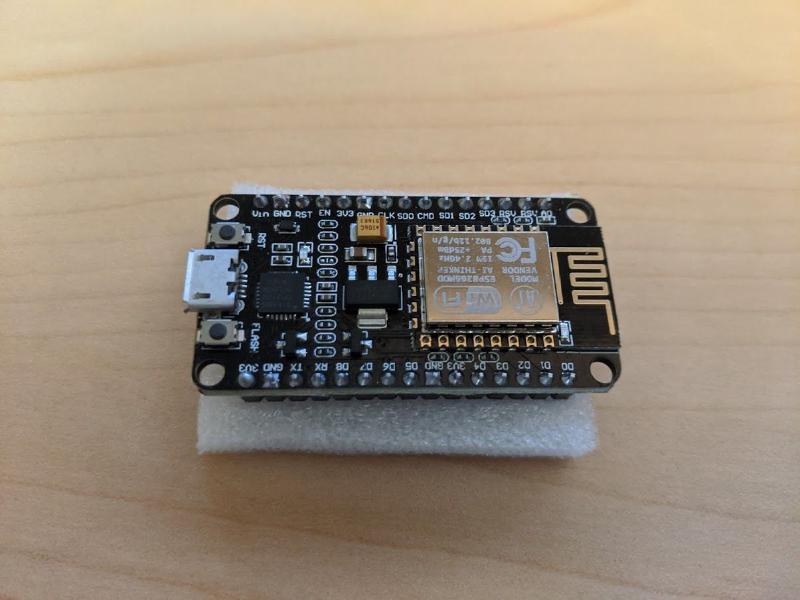
My ESP8266 of choice is the NodeMCU. There are other options out there, like the popular Wemo D1 Mini. The Wemo D1 is a lot smaller than the NodeMCU but requires soldering the pins on. Being a solder newbie I wasn’t comfortable with this option so I stuck with the NodeMCU and so far have been very happy with them.
Parts
Because I find it useful to link out to the products (and include pricing), here’s what I ended up buying. All links are to Amazon (note that these are straight links with no commission or anything to me).
- ESP8266 NodeMCU (3-pack) - $13.99
- ESP32 NodeMCU (2-pack) - $14.99
- 22 gauge electrical wire - $15.39 (this should be plenty for several projects)
- Soldering iron - $15.99 (yes I didn’t own a soldering iron before this. Bad nerd.)
- Lux sensors (10 pack) - $8.99 (read more below on why these)
- SW420 Vibration sensors (5 pack) - $5.99
- Jumper cables - $6.98 (this should be plenty for several projects and gives you options for male-male, female-female, and male-female connectors)
- Boxes (5 pack) - $8.99 (I looked a while for something that would work, this was the best I could find. Required some minor dremmel work to put holes in for the cords/sensors but they work great)
Setting up ESP Home
There’s a few options for flashing ESP8266/ESP32. As mentioned above, Tasmota is one. I like Tasmota for pre-built switches/plugs/outlets/other devices. But for custom built things I felt that I wanted something a little easier to work with. The other popular solution out there is ESP Home. Both work well with HomeAssistant, but I found ESP Home to be a bit easier (it can be set up as an integration and all you need is the IP address of the device) and the configuration is via YAML. The ESP Home website has a lot of useful information/configs for different sensors, including a pretty cool list of DIY projects.
Installing ESP Home is really easy. All you need to do is run pip3 install esphome. That’s it. I also would also suggest installing the dashboard with pip3 install tornado esptool. Then to pull up the dashboard, run esphome PATH_TO_ESPHOME_DIR dashboard (replace “PATH_TO_ESPHOME_DIR” with a path of your choosing. Mine is /home/fuzzy/esphome for example). Usually I like installing things in Docker, but because the first time you flash a device via a USB cable and my server is in the basement, I figured I’d forgo Docker this time.
If you install the dashboard, flashing new devices is as easy as clicking the plus icon on the right side, naming the device, selecting what kind of device, providing the WiFi information (SSID/password), and that’s it. If you don’t have the dashboard, it’s also pretty easy as there’s a “wizard” to walk you through the process (see the ESP Home docs for this as it’s pretty self-explanatory).
I’d suggest flashing a generic ESP Home install without any sensors. Once you do the first flash you can then update over the air (OTA) which I found far more convenient.
With ESP Home being set up, let’s jump into some simple projects!
Ambient Light Sensors
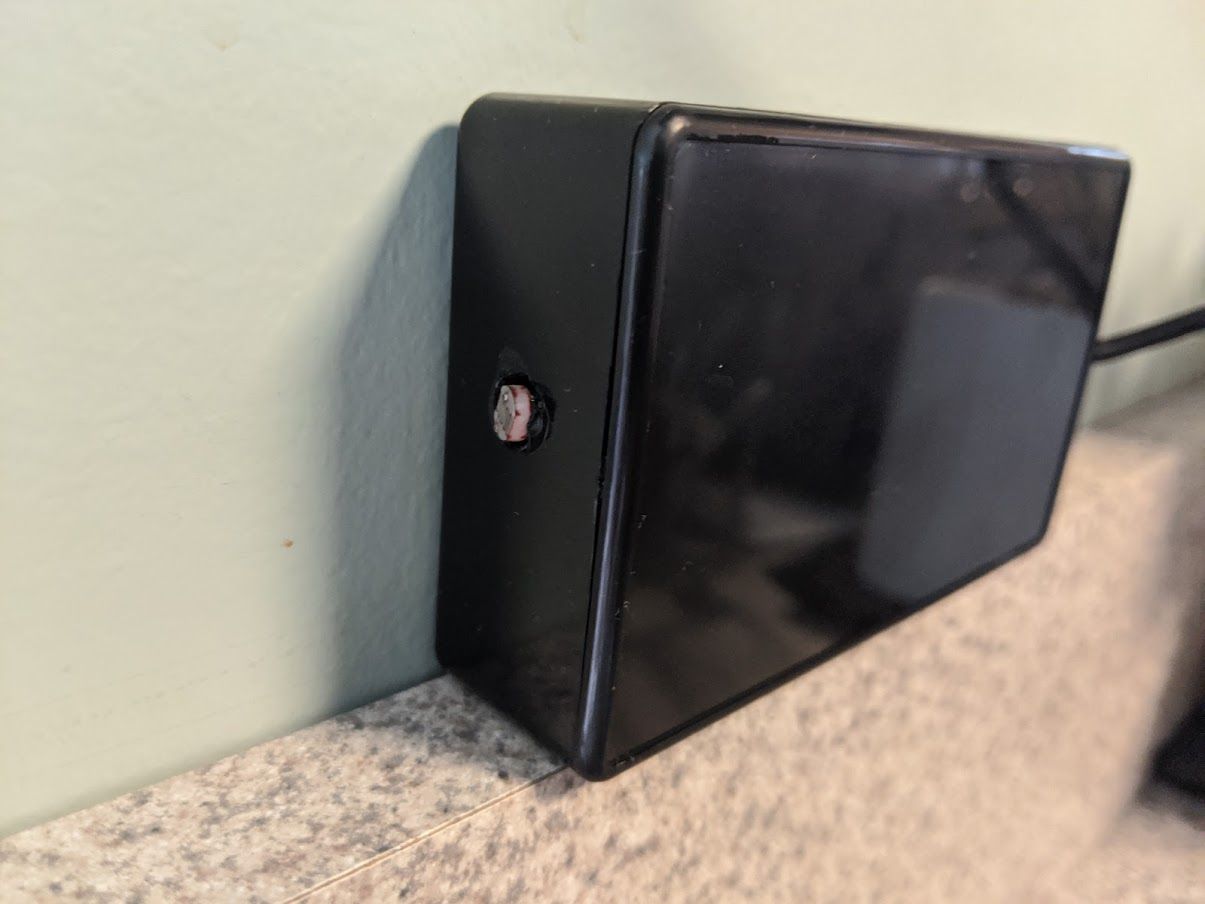
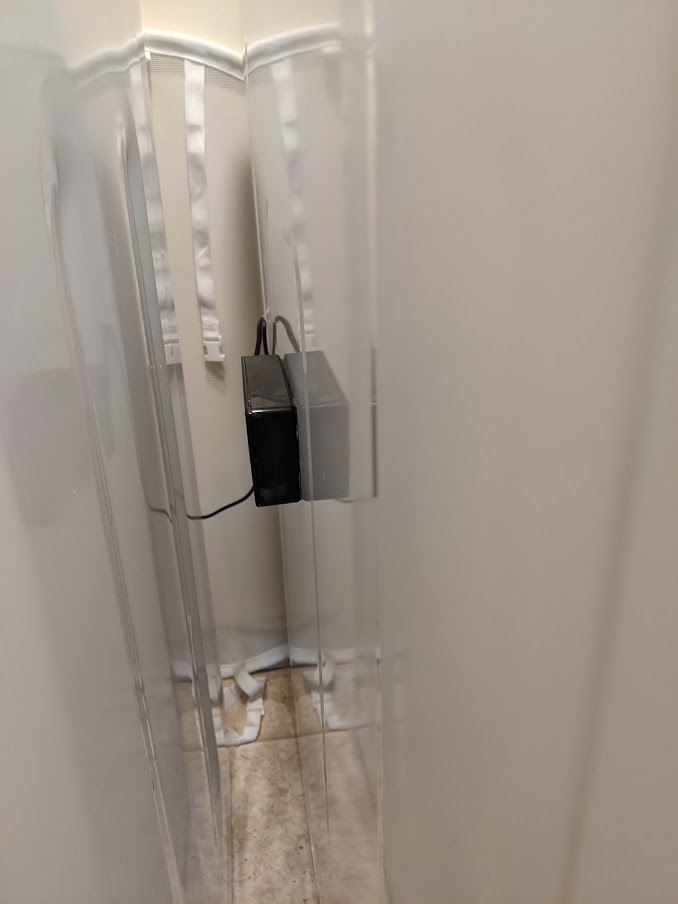
Light sensor box. Had to drill out an end for the light sensor to poke through but not the worst
I have a bunch of Dome ZWave motion sensors that are supposed to be able to detect light levels. However, only about 20% of them actually work reliably for the light detection, most are stuck at 0 lux. I’ve really enjoyed having motion sensors turn the lights on/off in rooms as I walk through, but there are some rooms that get enough light generally during the day that I don’t need the lights on. I’d seen things like the Bruh Multisensor that got me interested in this as an option.
Bruh’s video in the above link is a pretty good description of the parts involved. However, I had a hard time tracking down the exact parts he used because a bunch of the links 404’d. I also wasn’t a fan of the TEMT6000 because again, soldering newb. So I went looking. My first option looked like it would work. However, upon receiving it and trying to wire it up using the Bruh guide, I realized that the values I was getting out of the sensor didn’t make sense (pitch black and bright light were only about 2 lux different). Turns out that version only had Digital Out (DO) and what I needed was an option that supported Analog Out (AO). A bunch more searching and I found one that had an AO pin and was presoldered. Perfect.
Note: A limitation of this sensor is that it maxes out at 200 lux so if you want to detect light variations in really bright rooms this probably won’t work. For my purposes it’s fine.
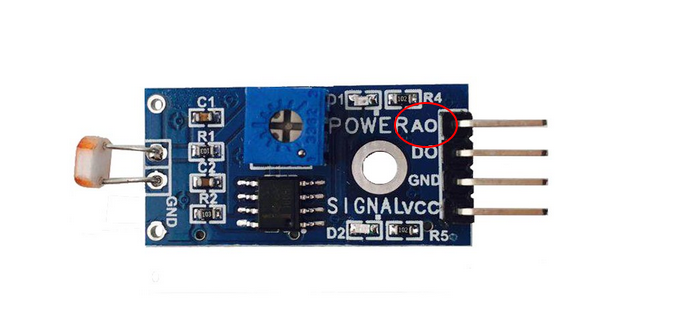
You need the AO pin (circled in red)
Wiring up the sensor is as simple as taking some jumper wires, connecting ground to a ground pin on the NodeMCU, VCC to a 3.3v pin on the NodeMCU, and AO to AO on the NodeMCU. Below is a wiring guide for the NodeMCU.
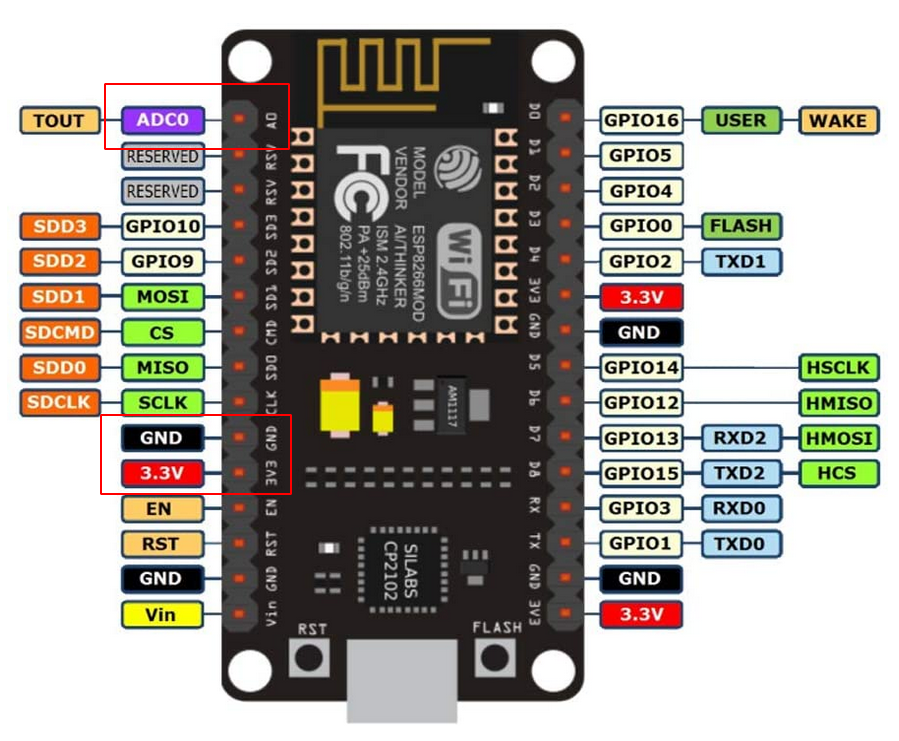
Wire to the pins boxed in red
Once it’s wired up, time to configure the code in ESP Home. Power up the NodeMCU, edit your YAML file by adding the below code at the end of the file, click “Save,” and then “Upload.” Once it’s done flashing you should have a working light sensor.
sensor:
  - platform: adc
    pin: A0
    name: "Room Brightness"
    update_interval: 60s
    unit_of_measurement: lux
    filters:
      - lambda: |-
          return 200-(x / 10000.0) * 2000000.0;
Change the name to match whatever you want.
You can adjust the update_interval to be faster or slower. For me, I found 60 seconds to be fast enough but adjust to whatever suits your purposes. You also technically can manually adjust the sensitivity with the screw on the sensor board, but I didn’t find this made a whole lot of difference so I left it alone.
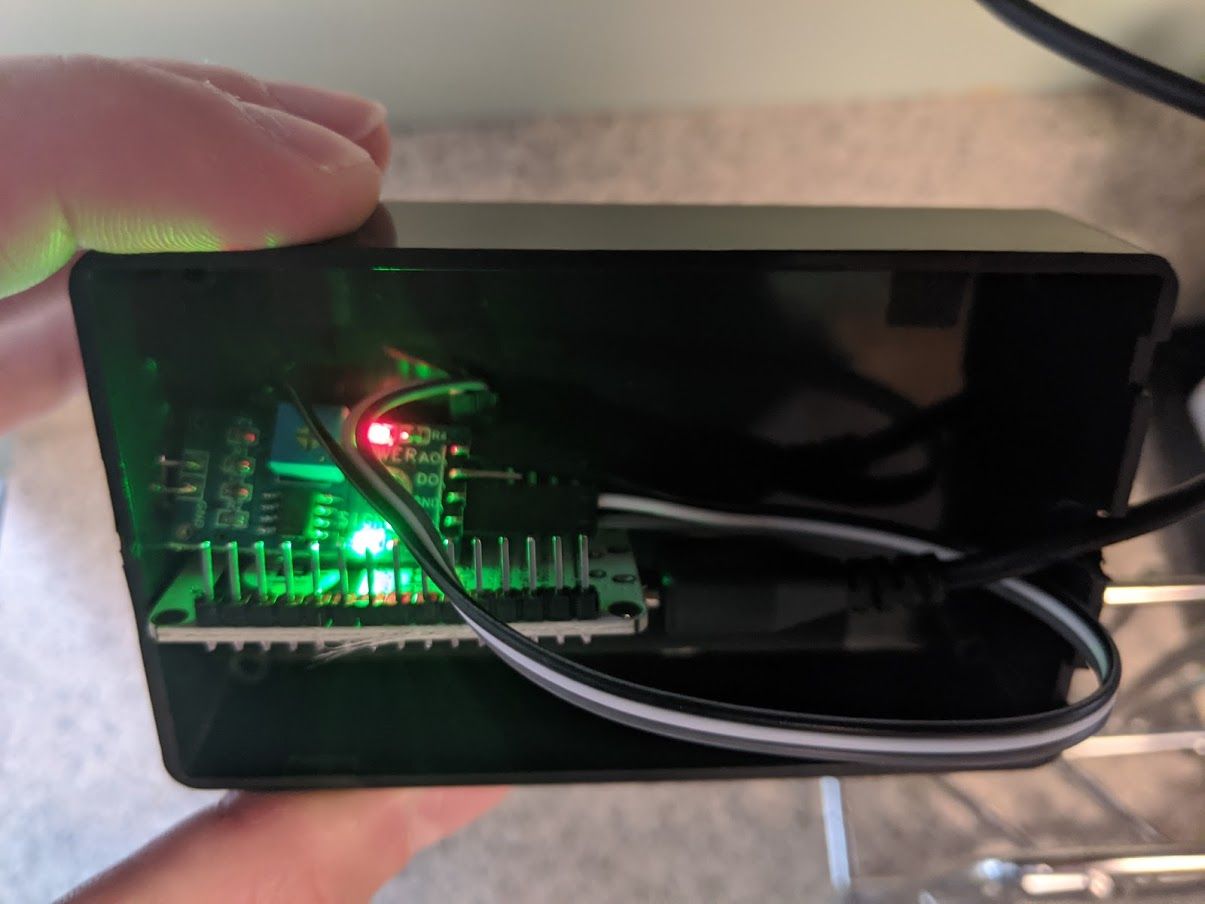
Adding the sensor as mentioned above is as simple as going to the Integrations page in HomeAssistant, clicking the plus/add button, searching for ESP Home, entering the IP address and a sensor will be automatically added to HomeAssistant. You don’t really need a box/container but I found it nice to make it look “clean” and hide the LED lights.
Ease of project: 9/10
Only difficulty with this one was tracking down the right sensor and drilling the holes in the boxes for the sensor to poke through. Other than that it doesn’t get much simpler.
Dryer Vibration Sensor
I’ve always wanted some kind of laundry automation to tell me when the washer/dryer are done so I remember to move the wash to the dryer and fold the clothes in the dryer. My issue was that I have an electric dryer meaning I couldn’t just use a normal smart plug with energy monitoring. I looked into energy detection using clamps like this but at $50+ I didn’t think it was worth it. I also tried the Xiaomi Aqara vibration sensor but I couldn’t get it to reliable detect vibration when the dryer was running so gave up on that approach.
Then I stumbled across this solution which uses an ESP8266 and an SW-420 vibration sensor. Since the sensors were cheap ($5 for 5!) and I was going to have a spare ESP8266 lying around after my light sensor project, I figured what the heck, might as well pick some up and give it a go.
Wiring it up was again very straightforward. Ground to ground, VCC to a 3.3v pin, and D0 to one of the pins labelled D0-8. When you’re setting up ESPHome you can either convert the D pin to GPIO (refer to the above image for the pin layout on the NodeMCU) or just put in D whatever (ie D1, D2, D7, etc).
Here’s the code (based on the above GitHub):
binary_sensor:
 - platform: gpio
   pin: GPIO16
   name: "Dryer Vibration"
   device_class: vibration
   filters:
   - delayed_on: 15ms
   - delayed_off: 10s
Hit save, upload, and wait for the new image to be flashed to the ESP8266 and you should be set to go. Adding to HomeAssistant is similarly easy. But here’s where I started running into problems.
First I wanted to have a sensor that had a state of “Running” or “Not Running.” Simple, create a template sensor and can even customize the icon depending on state. Great. However I started noticing that the vibration sensor was sometimes not detecting vibration for periods of time or fluctuating back/forth. Also when the dryer door was opened/closed it would detect vibration. Not ideal.
I played with a number of solutions to solve this problem. First, placement of the sensor is crucial. Turn your dryer on and try to find a spot where the vibration seems higher and place the sensor there. Next, you can adjust the sensitivity of the sensor using a screwdriver and turning the little screw. For me I found that I had to turn up the sensitivity pretty high to get it to work.
That solves some of the problems, but I still had issues with the door opening/closing. My solution was to adjust my template sensor to require the binary vibration sensor to have last changed more than 30 seconds ago before the template sensor updates. So if the vibration sensor is “on” for 30 seconds it would change, or “off” for 30 seconds it would change. Any changes inside 30 seconds (like the door opening/closing) wouldn’t cause the template sensor to adjust. I also spent a LOT of time adjusting the filter values in ESP Home before settling on what I did (15ms on, 10s off). You’ll just need to play around with the different options to find what works for you.
Here’s my working template sensor for HomeAssistant:
      dryer_running:
        friendly_name: "Dryer Running"
        entity_id: sensor.time
        value_template: >
          {% if ((as_timestamp(now()) - as_timestamp(states.binary_sensor.dryer_vibration.last_changed)) > 30 | int ) and states('binary_sensor.dryer_vibration') == 'on'  %}
            Running
          {% else %}
            Not Running
          {% endif %}
        icon_template: >
          {% if states('binary_sensor.dryer_vibration') == 'on' %}
            mdi:tumble-dryer
          {% else %}
            mdi:tumble-dryer-off
          {% endif %}
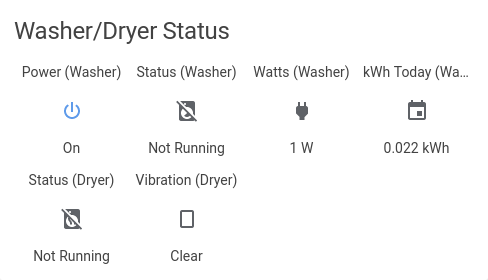
(Almost) finished product in HASS. Likely will remove everything but the Status sensors eventually.
Now when the washer or dryer go from “Running” to “Not Running” the spouse and I get pings on our phone. Handy.
(I did washer sensing using a Tuya-converted power monitoring smart plug and the status template sensor is based on the watts being used by the washer).
Ease of project: 6.5/10
Again, very easy to wire. But the difficulty in getting it to work perfectly makes this slightly more complicated. And it’s still not perfect (there are a few false positive alerts that the washer/dryer is done), but given that the price was super cheap ($7 for the washer plug, $4 for the ESP8266 and $5 for the vibration sensors) it was worth it.
Bed Sensors
Following this guide I built a half decent bed sensor. This was my first experience soldering anything and it was surprisingly easy. The guide is pretty good at walking through what you need (note the need for an ESP32 and NOT an ESP8266. I missed that fact at first and had to wait for the ESP32 to be delivered). Making the sensor plates was pretty easy and the wiring is also pretty straightfoward once you get the soldering done. I would suggest writing down which plate you’re wiring to which pin so you aren’t like me and trying to figure out which plate is which after you installed everything (oops).
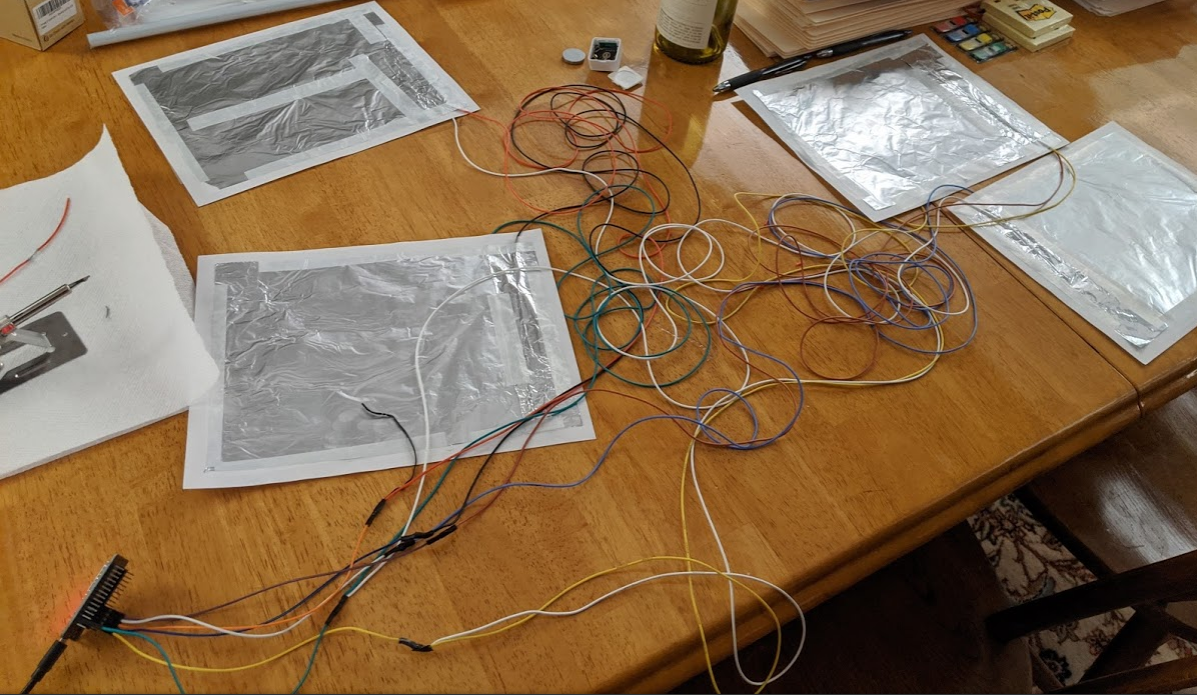
Sigh. Jumble of wires.
I’ve only had this up for a night but…it seems to work well. You’ll need to tweak the threshold setting to get it working but so far it’s pretty accurate. I’ll update this post if I find any other issues.
I’m really excited to have this one set up because I got tired of the spouse and I sitting in bed reading or watching TV and the lights turning off on us.
Ease of project: 7.75/10
Because it requires soldering I had to knock a bit off. It also involved a bit of effort to make the panels and also some tweaking to figure out the optimal settings. I also have an issue with the idea that this is a “$5 smart bed.” It is if you happen to have all the parts already lying around. But if you don’t, it’s more like $40/50. Still not that bad (and I have a spare ESP32 for another project, likely outdoor pathway lighting) but definitely not $5.
Conclusion
So that’s a few things you can use ESP8266 for. Honestly the options seem pretty much limitless. My next project is going to be LEDs for my office and outside pathway lights, but I’ve also got my eyes on this project to monitor salt levels in my water softner.